I follow a simple, three-step process to help myself stay calm and execute on fundamental aspects of a successful mountain hunting stalk. By mountain hunting, I'm referring to the pursuit of sheep, goats, mountain caribou and often bears. These principles apply to all kinds of spot and stalk hunting where the game is stationary and not constantly on the move. Still, they are more critical in the mountain environment with the species I mentioned above. By repeating this process every time, I maximize my chance of having Lady Luck on my side.
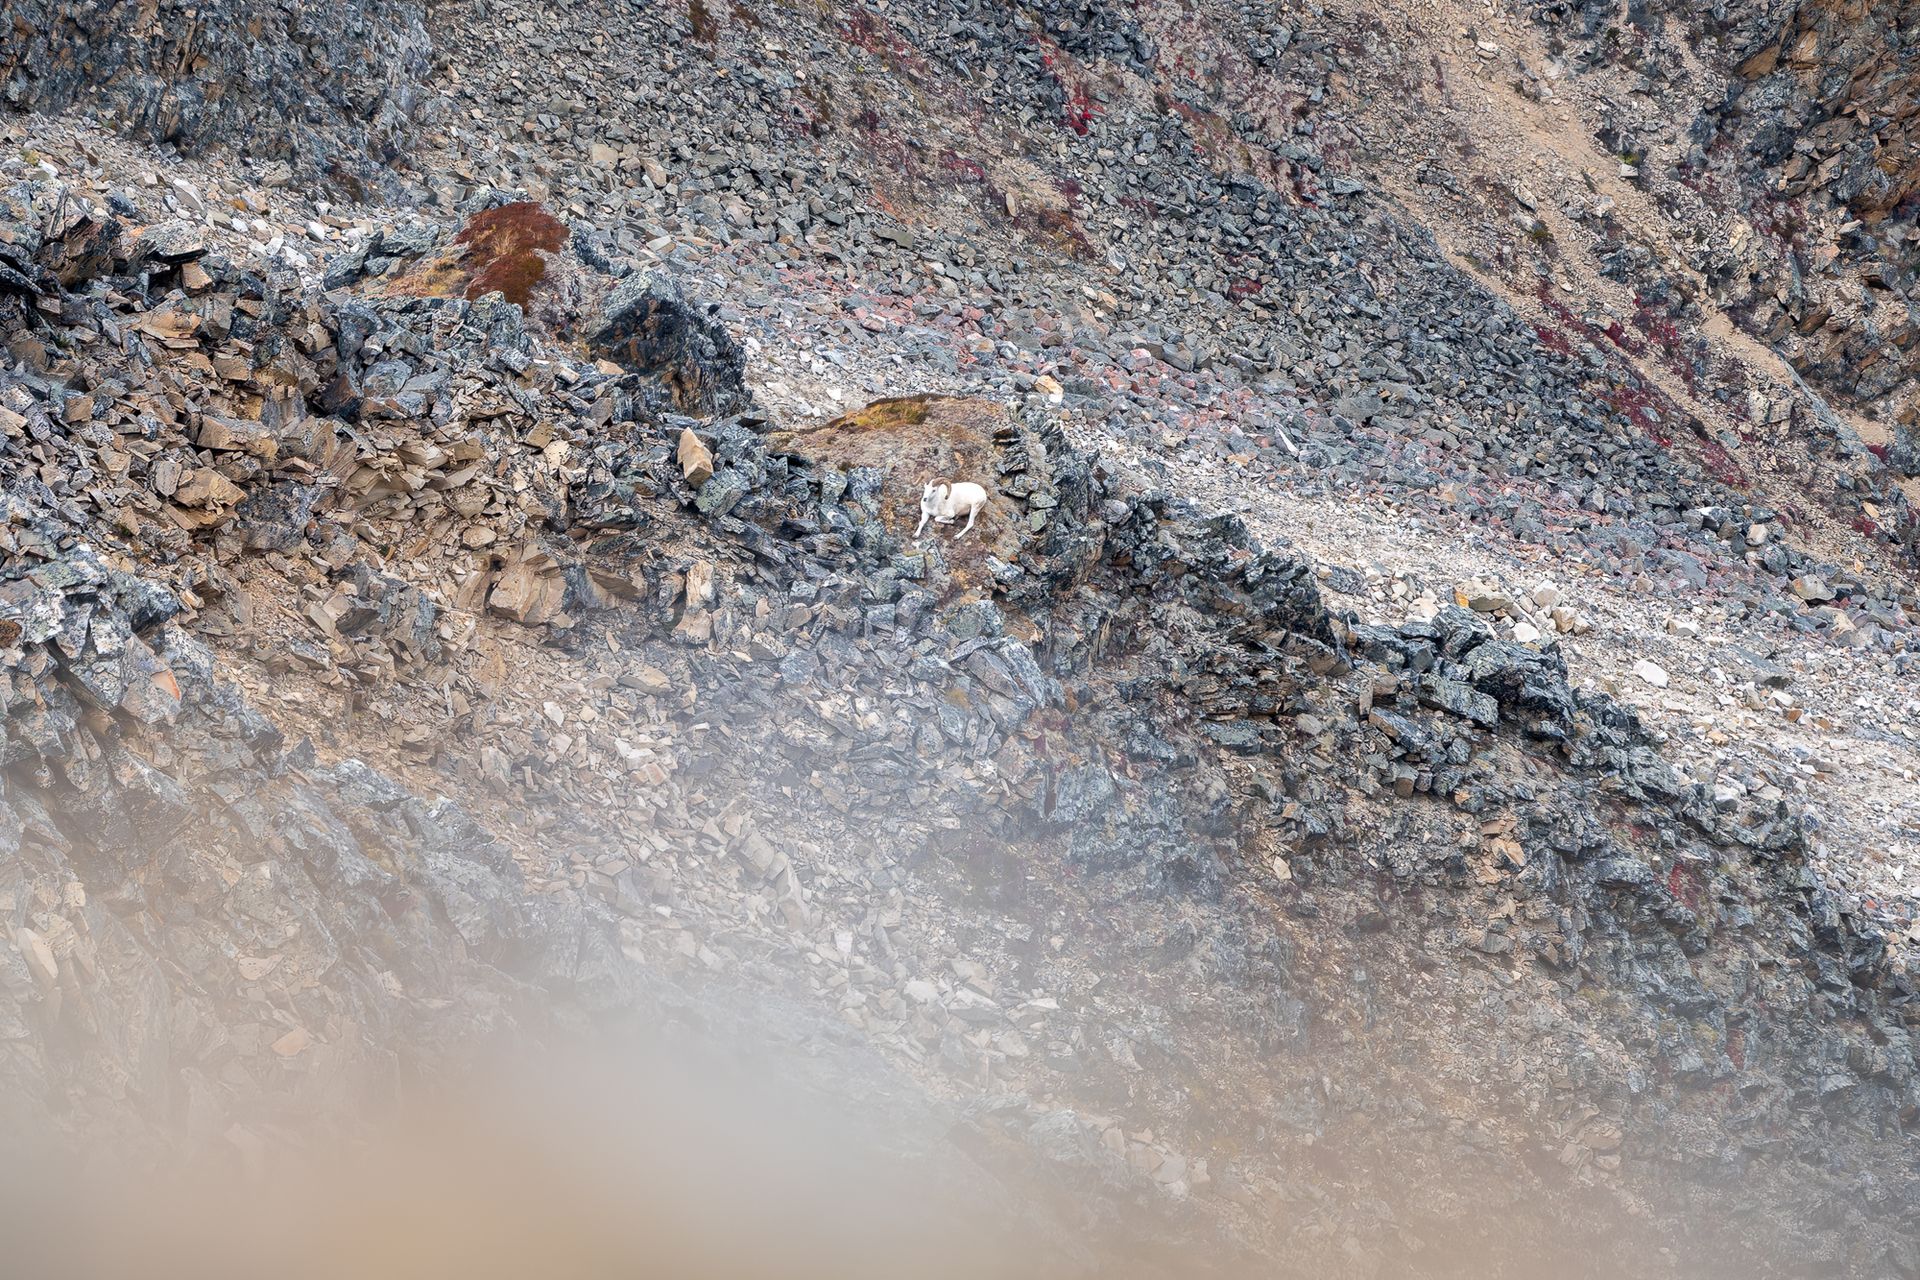
This ram remained bedded for about an hour after we go into position.
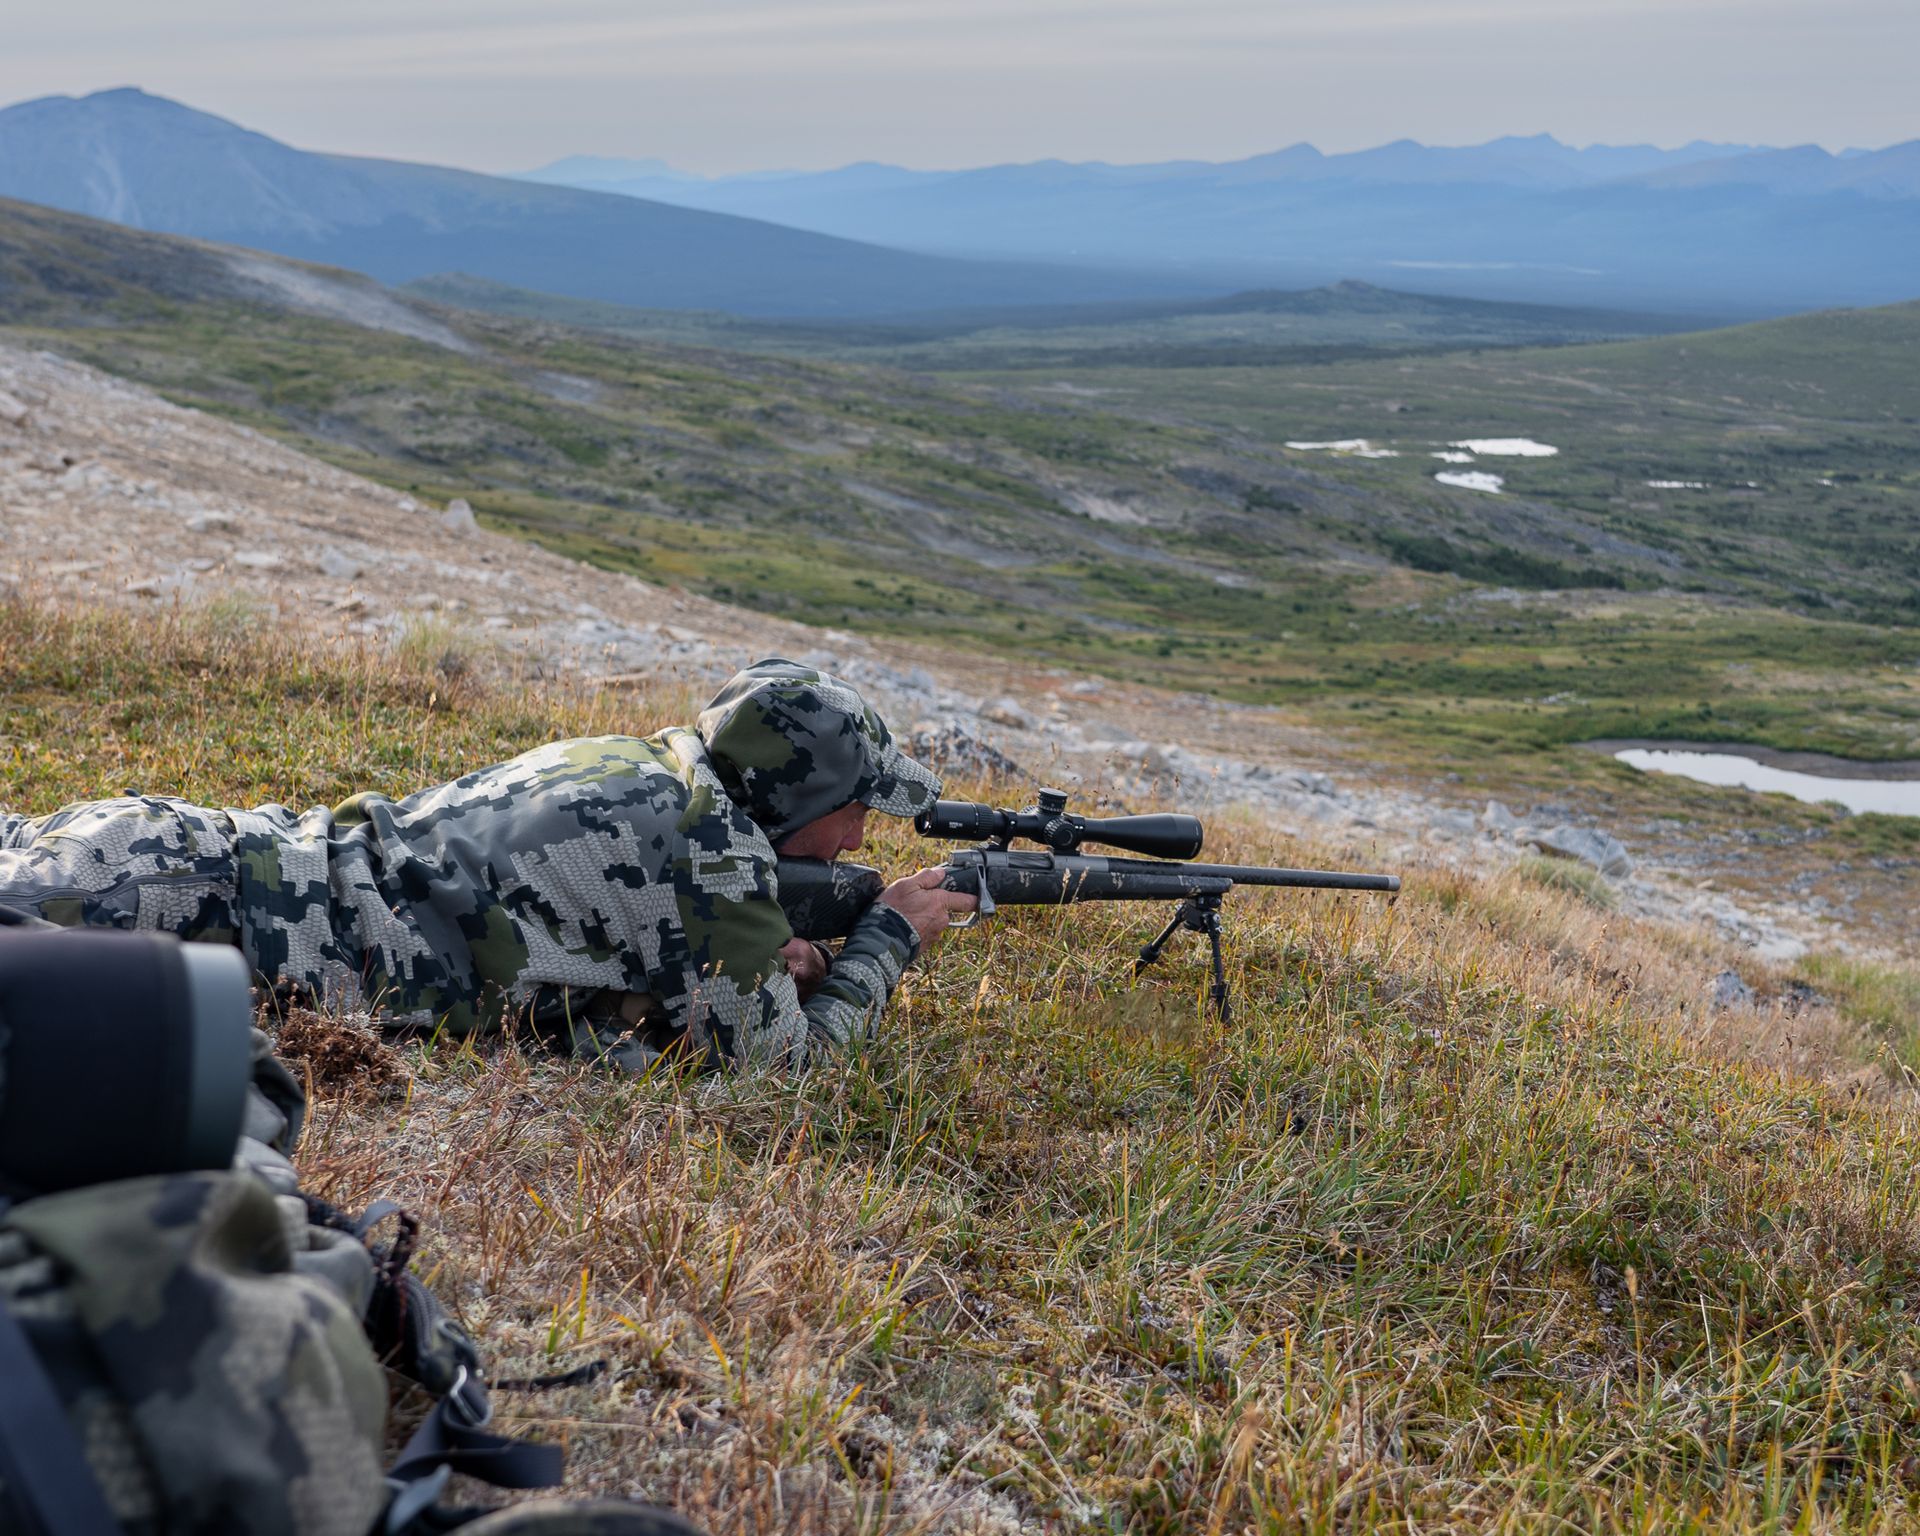
Step One - Find a Good Shooting Position
I like to find a shooting position that maximizes my chances of keeping my eyes on my target if it moves, or if my first shot doesn't anchor it. More often than not, stalks occur when mountain game are bedded and resting during the middle of the day. It is often the situation that you end up with an extended period of time between getting into a shooting position and having a shooting opportunity. I also want to select a shooting position to move from while remaining unseen. This concealment could be finding a bush, a change in the terrain, rocks, or an exposed position with a backdrop that means I will not skyline myself. Suppose the game remains bedded for hours, and I command an unobstructed view above the animal. In that case, I may wish to have a position where I can sit up and move away from my rifle.
The distance I will set up will depend on numerous factors, including:
My capability as a shooter with the rifle and optics I have
The wind and weather conditions at the time
The type of game (the size of the vitals)
The kind of shooting platform available to me (prone, tripod, tree branch, off-hand)
Step Two - Build a Shooting Platform
Building a solid shooting platform is critical. When it is possible, I always use a tripod. Tripods provide the stability we all know from the best shooting rest at the range in a package that is worth it to me to carry up the mountain. Tripods also allow me to be more flexible in my shooting position selection. Due to the added stability of the tripod, it's no big deal to pull back 100 yards to have better cover and coverage.
I always do my best to get into a prone position, whether I have a tripod, a bipod, or an improvised rest. Laying my entire body on the ground gives me the maximum steadiness and control possible.
Once I have established where my rifle will lie, and the rest I am using, I ensure that my body is sustainably behind my Gunwerks ClymR. From the prone position, that means to have my body lying parallel to the gun. My body is comfortable yet strong and stable for a seated or standing position.
Step Three - Practice Dry Firing
With the crosshairs trained on the animal (don't forget to range!), I practice my trigger squeeze, working through my breathing routine and settling my heart rate. I'll do this for a few minutes while the sheep or goat is bedded. After a week of misery in the mountains, finally pulling the rifle out and training my reticle on a good ram will get my heart beating. We all know the feeling! This dry firing is the perfect therapy to give me the confidence and calm I need to make the shot that counts. Exercise caution to ensure you don't load the rifle and make an unplanned and unsafe shot throughout this process. This process is something you can integrate with your own. I believe that by slowing yourself down and not selecting the first shooting location you see, you will set yourself up for success on your next mountain hunt.