Your Gunwerks rifle was built with the utmost attention to detail and precision. It is an investment which should serve you and your children for years to come. It must be maintained properly to provide the level of precision it is capable of. More importantly, well intended, but poor choices in cleaning equipment and procedures can significantly shorten the functionality and accuracy of your rifle.
Rifles generally shoot the best when the barrels are “seasoned” which is a nice way of saying a little bit dirty. A barrel is “fouled” when it is so dirty that it no longer performs. Our goal in routine cleaning is to keep the barrel from ever getting to the fouled stage, but at the same time we are not trying to return it to its original “never been shot” level of cleanliness.
In this article I’ll talk about the cleaning equipment we recommend at Gunwerks, and more importantly the reason we do not recommend some commonly used equipment.
Basic Rules
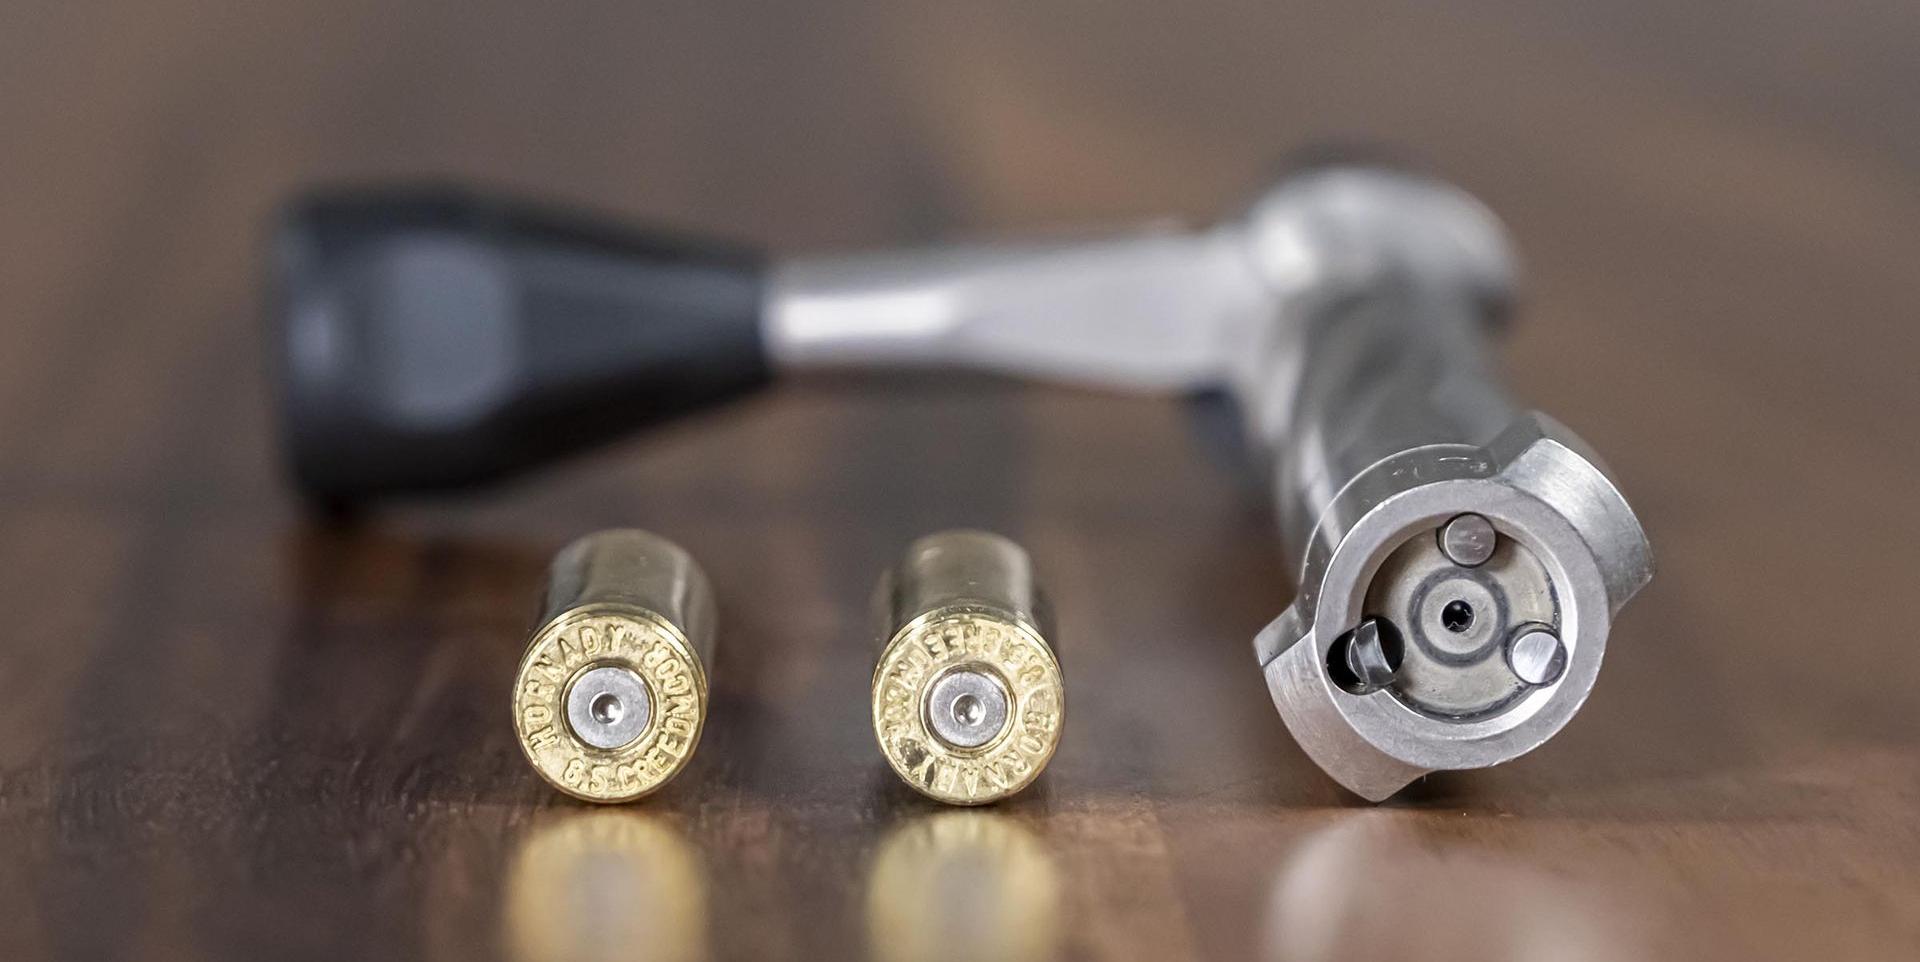
Always clean from the chamber end, never stick something down from the muzzle except in an emergency to remove a stuck casing, etc. It is very easy to damage the bore right at the crown as the cleaning rod tries to align itself with the bore.
Always clean with the barrel sloped downward. This is to allow excess solvent to run out the end of the barrel and not back into the action, bedding, and trigger area. Theoretically, this was more important in days past when most rifles had “glass bedding” because the solvent would deteriorate the bedding. Modern bedding block systems are probably more tolerant of solvent, but why take the chance? Cleaning solvents will likely cause malfunctions if they are allowed to run into the trigger assemblies.
Always use a bore guide. It goes into the action in the place of the bolt and serves two functions; It centers the cleaning rod in the barrel which prevents it from scraping against the throat area. Second, it seals the chamber and prevents solvents from running back into the action. The best ones are caliber specific and have an o’ring to seal the chamber.

The recent introduction of high quality affordable borescopes into the shooting community has taught us a lot about what we should and should not do. Equipment and procedures which I thought were correct just a few years ago, have been shown to cause damage.

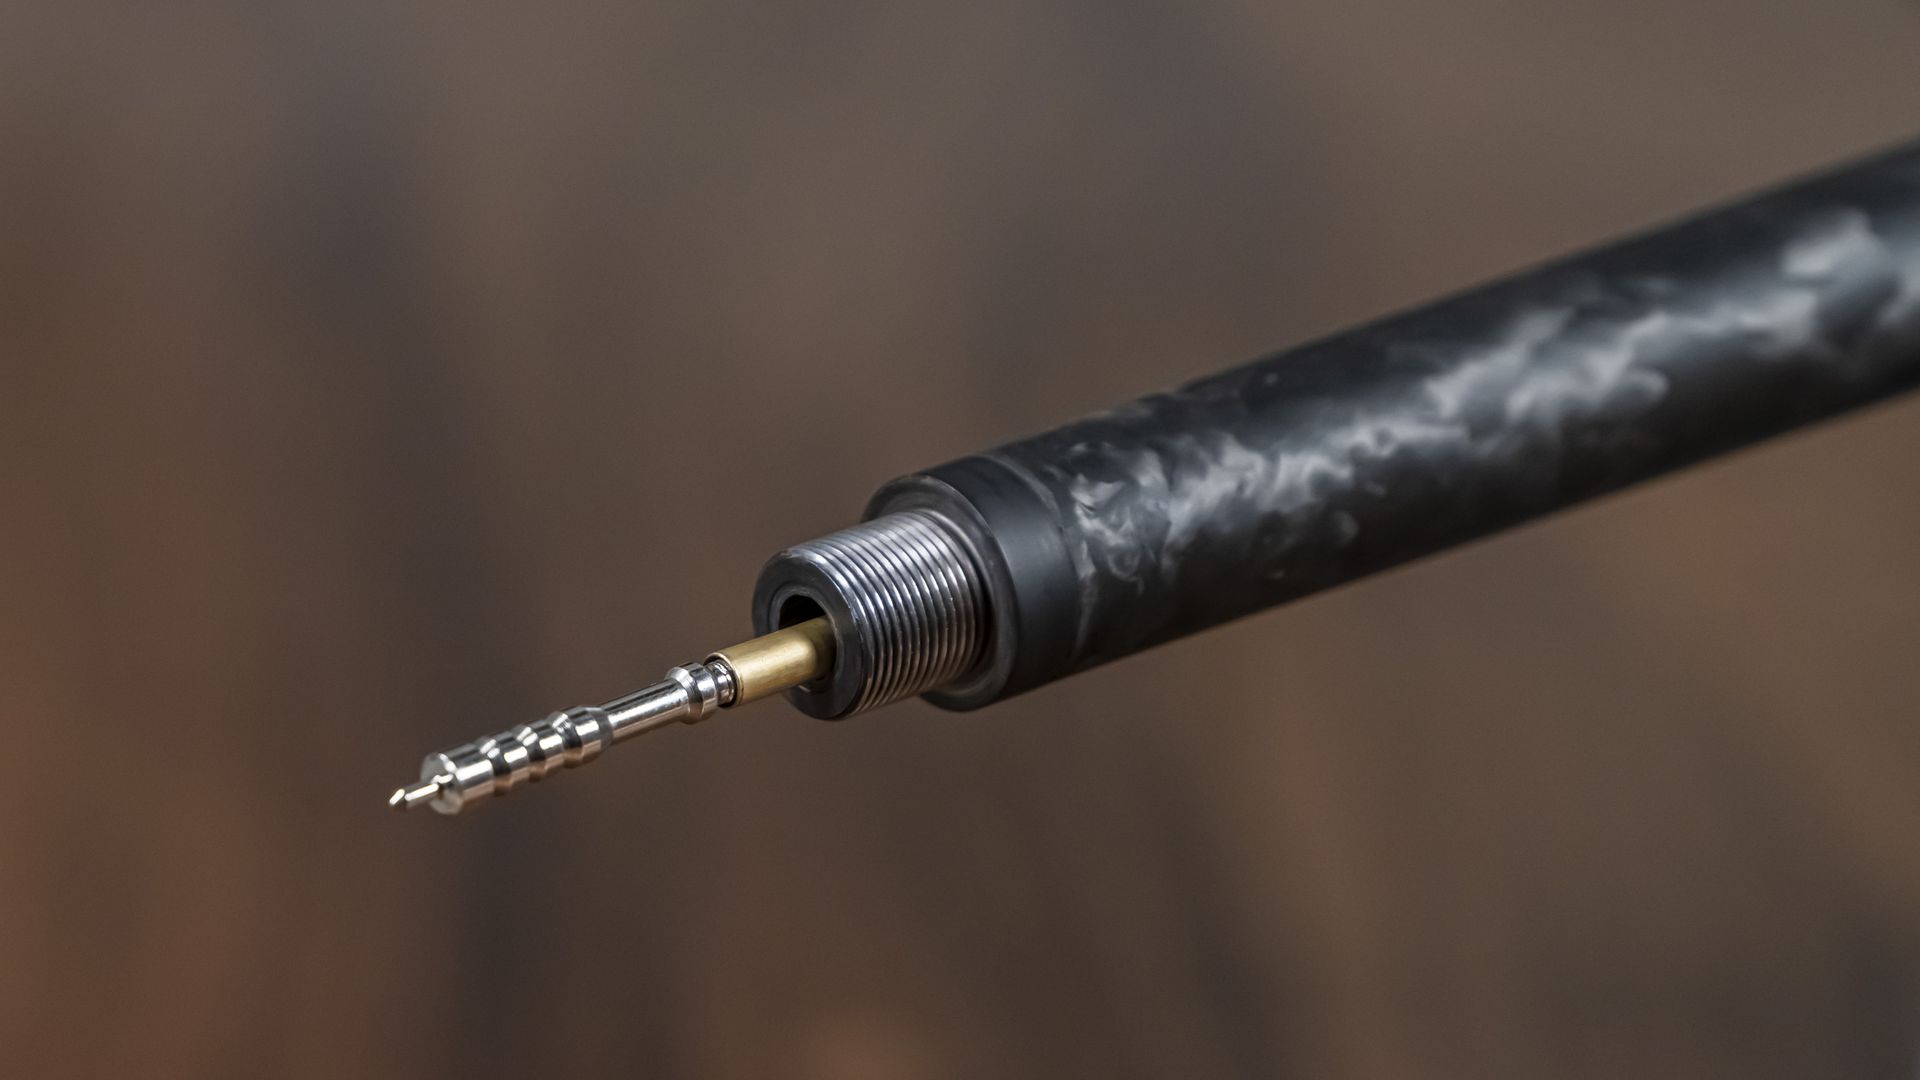
 This sectionalized steel cleaning rod has seen a long life cleaning M-4 barrels. Note the shiny spots at each junction which show where the cleaning rod rubs inside the barrel.
Jags and Brushes

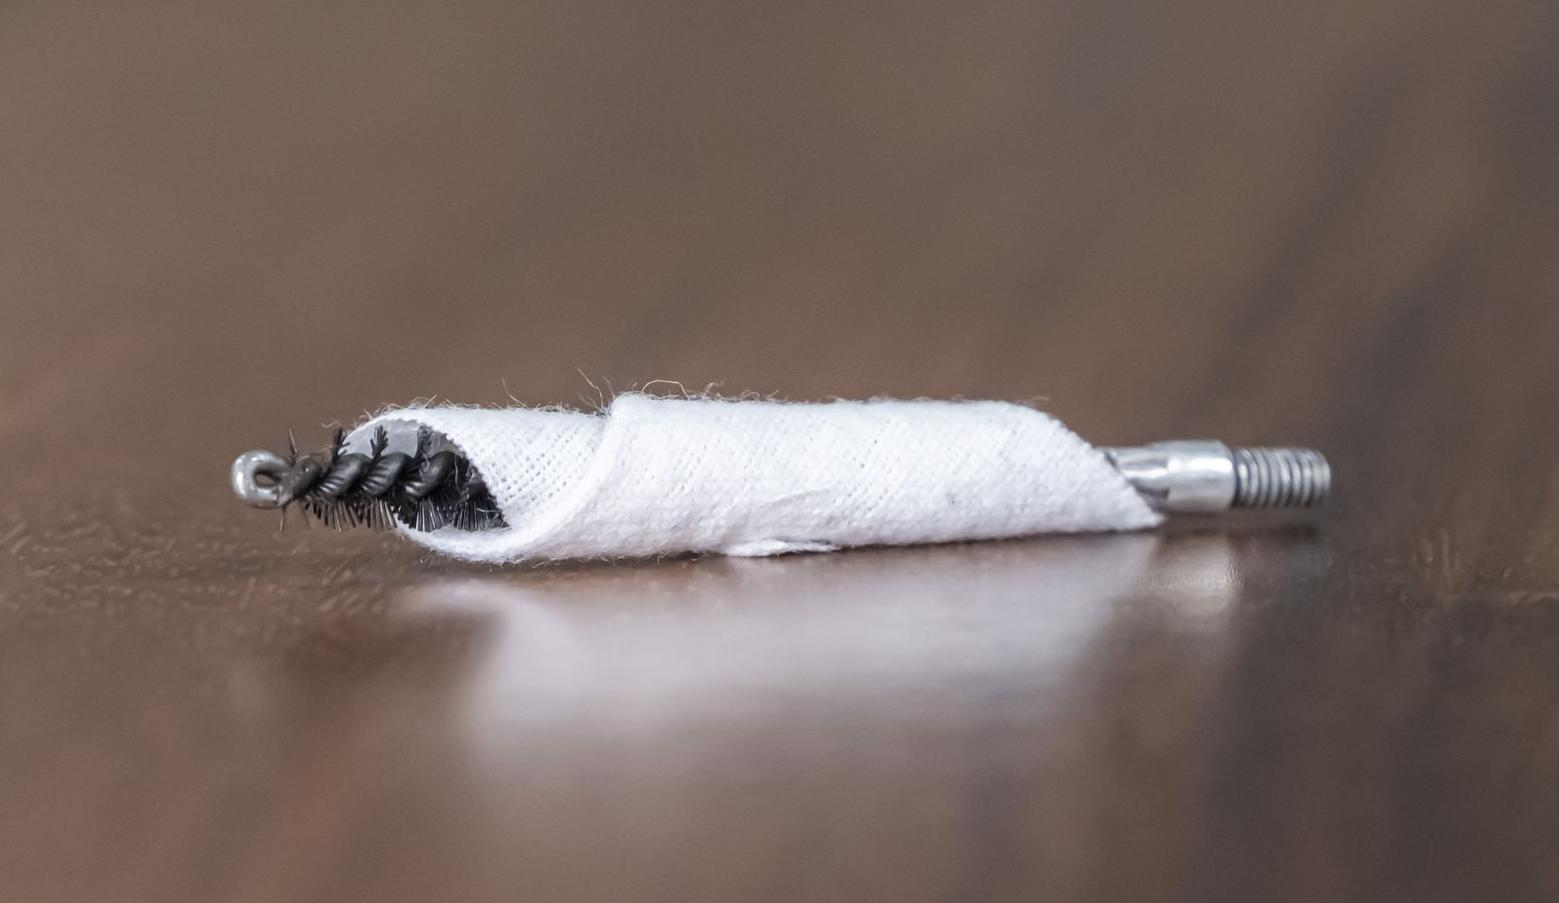
Recommendations: If you insist on using bronze or brass jags and brushes, unscrew and remove them before pulling the brush or jag back through the barrel. At Gunwerks, we recommend using nylon brushes. Instead of jags, I personally prefer to wrap the patch around a worn out, or one-caliber-smaller brush as opposed to using a jag. If you do use a jag, either make sure it is screwed on tight, or completely remove it before pulling the cleaning rod back through the barrel.
There are many different companies producing cleaning solvents, the vast majority of which are quality products if used as intended. There are three basic types of cleaning solvents: Powder solvents, Abrasive cleaners, and Copper solvents.
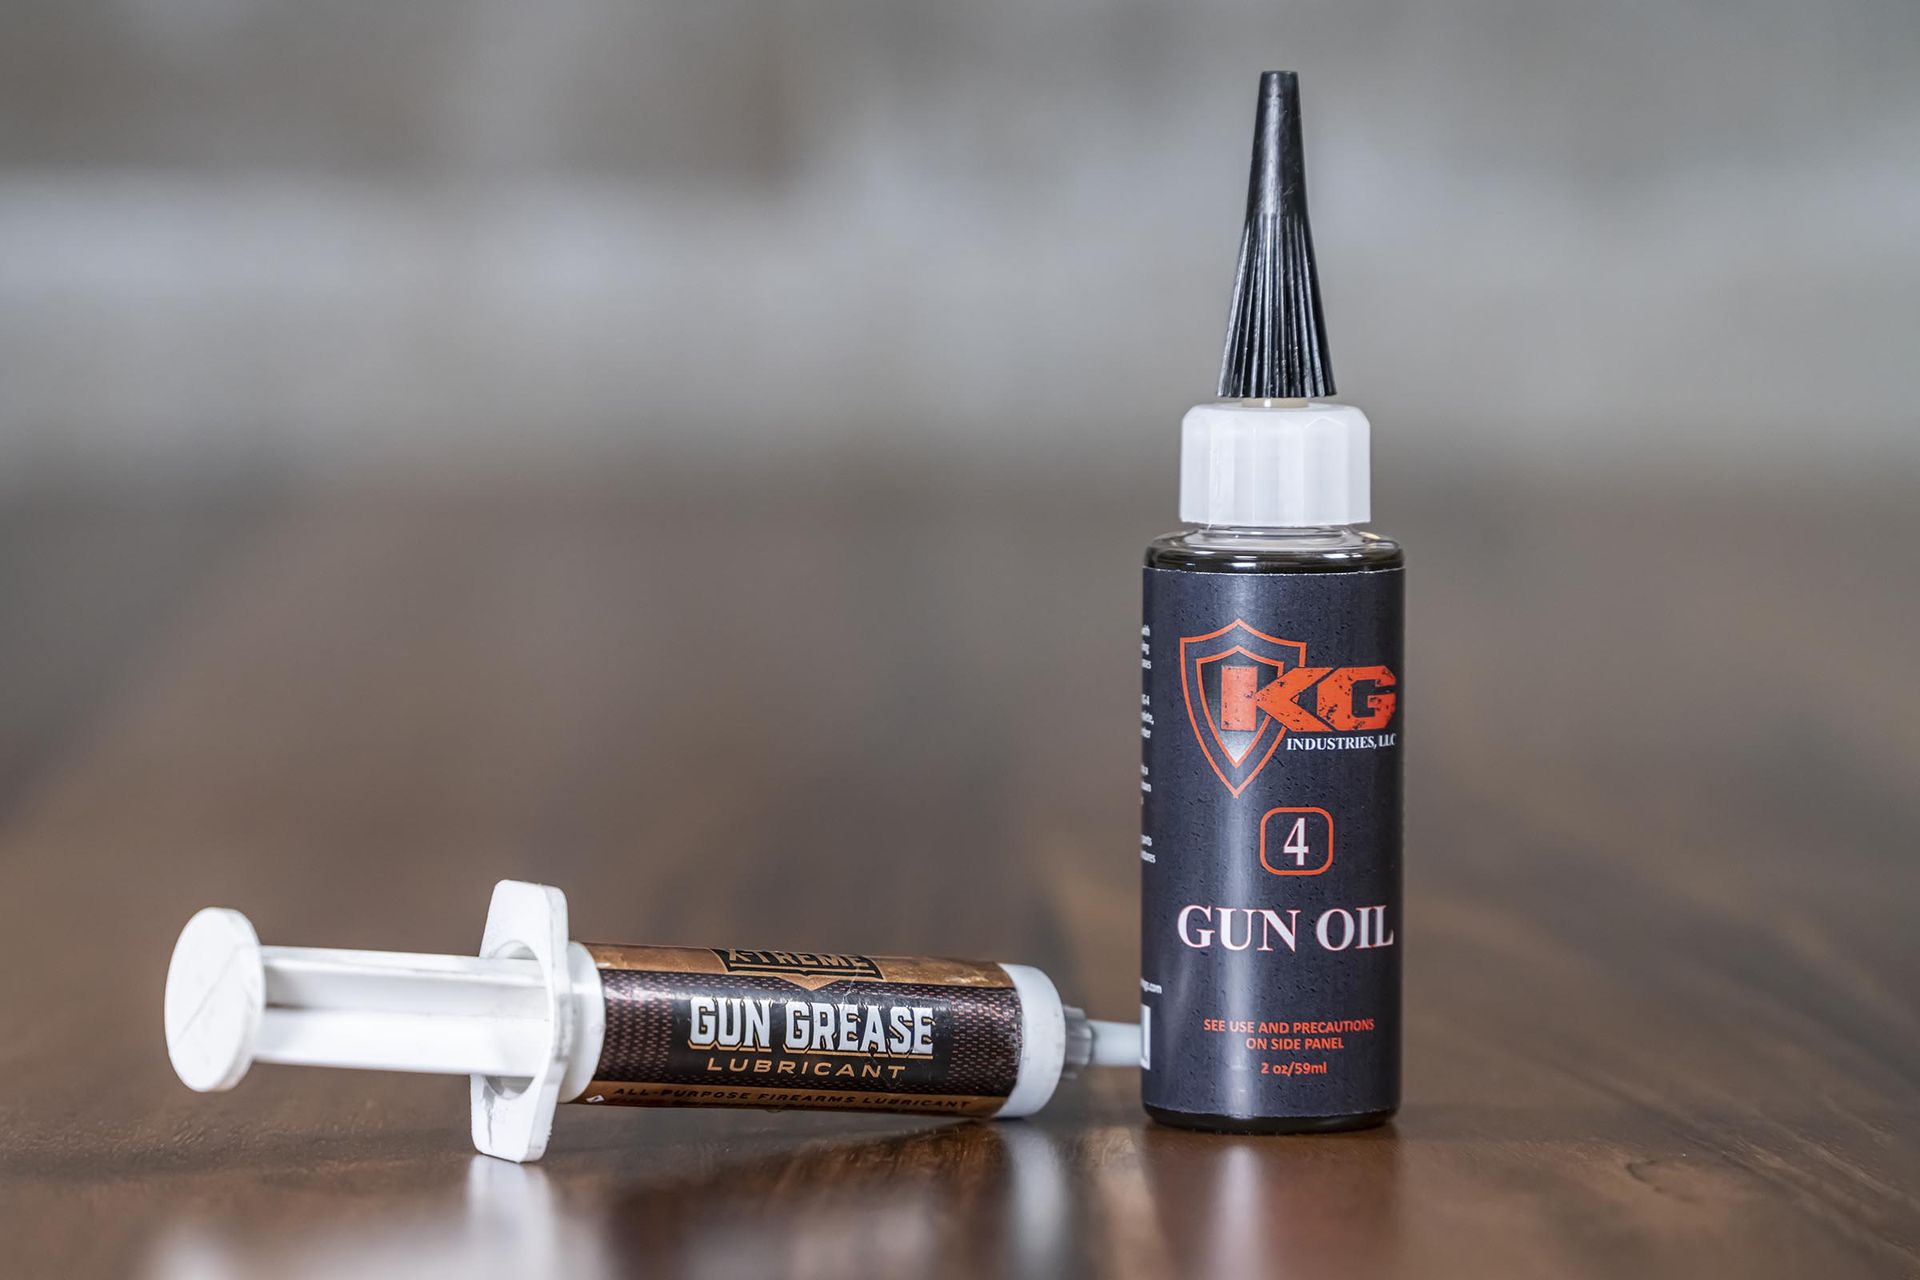
Powder solvents are designed to dissolve and soften carbon deposits. At Gunwerks, we use KG #1 Carbon Remover. However, there are many other quality products available.
Abrasive cleaners are similar to a very fine lapping compound. They clean with a cutting action and are the only solution for a barrel with excessive carbon buildup in front of the chamber, commonly known as a "Carbon Ring". They should probably not be used for routine cleaning, although, benchrest shooters used them routinely a few short years ago. At Gunwerks, we use and recommend KG #2 Bore Polish for intermittent use. Used very aggressively, Bore Shine could potentially cause additional wear to the throat of the barrel and reduce barrel life.
Copper Solvents are designed to clear out copper fouling by dissolving it. The strongest ones are ammonia based. Theoretically, they should not be left in the barrel for an extended period of time because corrosion is a possibility. Refer to the manufacturer's instructions. Some solvents are designed to soak and others require agitation. (aka, scrubbing to work). At Gunwerks, we use and recommend KG #12 Copper Solvent for routine cleaning. KG #12 is not ammonia based and relies on "agitation" and light scrubbing to remove copper.
When choosing solvents, we recommend you do not mix solvents from different manufacturers. Every reputable manufacturer tests all their solvents with each other to ensure they don't combine to create a corrosive combination which could damage your barrel. They do not necessarily test them against every other manufacturer's solvents, so there is always the possibility of creating a corrosive combination. It's always a good idea to run a couple of dry patches through the bore anytime you switch from one solvent to another.

Oils and Preservatives
Oils are designed to reduce friction between moving parts and help firearms function smoothly. Most oils also provide protection against corrosion. Oils are not a cleaning agent or solvent, although they are often misused in this way. The negative side to oils is they attract dirt and sand in dry dusty environments. Dry teflon or graphite type lubricants work better in dusty environments. Oil also gets "gel like" in very cold temperatures and can gum up moving parts. Graphite is a better lubricant for cold weather. We recommend a light coat of oil on the body of the bolt to assist with smooth bolt manipulation.
Preservatives are designed to prevent corrosion during storage. They are more important in environments which contain a lot of moisture and are critical in salt water environments. Some preservatives can preserve without the negative side effects of oils in dusty or cold environments. The use of preservatives in your bore should be balanced between what is necessary in your environment and the possible effect on your cold bore shot.
Many cleaning solvents also contain a preservative to help avoid corrosion from the elements.
Grease
A light grease is useful to prevent wear on the parts of the rifle which are subject to high pressures and wear. Specifically, the rear of the locking lugs on the bolt.
Bore Cleaning (60 - 40 - 20 Routine)
This is the bore cleaning procedure we recommend at Gunwerks. In a later article, we will address "Cold Bore Shots" and how bore cleaning can affect them. To summarize, we recommend leaving the bore dirty throughout the hunting season. Once you clean using this procedure, it may take 3-5 rounds for the bore to "re-season" and return to its normal zero and velocity.
1. Install the rifle in a cradle with the muzzle down, insert a bore guide and cover the stock and scope lenses with a cloth or paper towel.
2. Push a nylon brush through to the muzzle and soak with KG # 1 Carbon Remover.
3. Scrub this back and forth approximately 20 times.
4. Run a dry patch through the barrel to remove the loosened carbon.
5. Repeat steps #3 and #4 two more times. (60 strokes combined)
6. Push a nylon brush through to the muzzle and soak with KG #12 Copper Remover.
7. Scrub this back and forth approximately 20 times. The agitation is necessary for the KG copper solvent to work. Clean out the bore with a dry patch.
8. Repeat step #7 one more time. (40 strokes combined)
9. *Complete this step during routine cleaning, only if you utilize a suppressor, which hastens the formation of a "Carbon Ring"*
Push a nylon brush through to the muzzle and soak with KG #2 Bore Polish. Scrub from the chamber to a point approximately 8 inches in front of the chamber 20 times. It's okay to reverse direction inside the barrel when using a nylon brush. (20 strokes)
10. Spray a 3-5 second spray of gun degreaser (or carburetor cleaner) through the bore guide and down the barrel, being careful not to get any on painted surfaces. This dissolves any remaining solvents inside the barrel which can pool in front of the chamber, solidify over time, and prevent a live round from chambering properly.
11. Always end with 4 to 5 dry patches to remove any excess cleaner from the bore. Don't be alarmed if the patches still come out gray. Our goal is to return the barrel to a "seasoned" state, not to remove all traces of carbon or copper.
12. Mop out the chamber with a chamber mop to remove carbon and any solvent which is pooled there.
13. Wipe down the bolt and apply a light coat of oil for smooth operation. Add a dab of gun grease to the rear of each locking lug. No oil here.
14. Remove the firing pin spring assembly and degrease with a gun degreaser or carburetor cleaner. Also degrease the tunnel it resides in, inside the bolt. If using in mild climates, apply a very light coat of oil to the spring and firing pin. If using in subzero climates, leave the firing pin assembly oil free.
Carbon Rings
During the firing process, carbon normally builds up immediately in front of the chamber and copper fouling normally happens closer to the muzzle. Heat and pressure from round after round will eventually cause this carbon buildup to glaze over and reach a point where it physically reduces the bore diameter. As this occurs, the pressure goes up and the velocity of each round will increase.
The first observable symptom will be occasional high impacts at long range. If you were running a chronograph at the same time you would notice an occasional shot running 30 to 50 fps faster than average. As the buildup continues, the frequency of the high shots and high pressure will increase.
The next symptom will be a stiff bolt lift caused by the high pressures. The brass will flow into the recesses cut out of the bolt face for the plunger style ejectors. When you open the bolt, a little bit of brass gets shaved off and you feel a stiff bolt lift. if you were to look at the fired casing you will see 2 shiny spots on the head where the brass was shaved off. (One shiny spot for Remington 700 Pattern bolt faces with only one ejector). If the rifle continues to get shot without removing the carbon ring, eventually the pressures will rise so much the primers will get blown out of the casing.
- An un-suppressed .308 may start showing symptoms of a carbon ring after several hundred rounds. I used JB bore paste (abrasive cleaner) pretty routinely over the years so I was unknowingly preventing it from ever being an issue.
- A suppressed 6.5 Creedmoor may start showing symptoms in as little as 200 rounds.
- A suppressed .30 Nosler may start showing symptoms in as little as 80 rounds.
Based on these observations, it appears that a suppressor hastens the formation of a carbon ring. In addition, the more powder being burnt through a smaller bore also hastens the process. Different types of powder may build carbon rings at different paces.
Our routine cleaning process, completed approximately every 60 rounds should prevent a carbon ring from ever forming. If your rifle develops symptoms of a carbon ring, clean as indicated above, but repeat step #9 several times.
Scope Lens
Scope lenses are easily damaged and must be cared for. The same applies to your spotting scope and binoculars. you will normally not notice your lenses are damaged until the sun is directly in front of you and you are trying to see through the glare. The light reflecting off the thousands of tiny scratches on your objective lens creates a fireball effect.
Do Not use your t-shirt, toilet paper, or paper towels to clean your scope lens.
Do Not clean your lens unless they need it. Frequent cleaning will likely cause tiny scratches.
Do Not use commercially available smudge removers which look like a little flexible saucer mounted on a pen. One grain of sand trapped in there will damage your lens.
Proper Equipment
1. Lens Brush - Lens brushes are commercially available and used to brush loose dust and debris from the lenses. These must be stored in a plastic bag because if any oil, even from your fingers, finds its way onto the brush it will transfer to the lens and become a magnet for more dust. Many commercially available smudge removers have a brush at the other end of the tool. Use the brush but not the smudge remover.
2. Lens Cleaning Solution - Camera shops and eyeglass stores sell a solution designed for cleaning lenses. Ideally, this comes in a small spray bottle so you can spray it directly on the lens. In a pinch, distilled water can be used instead. Non distilled water will leave deposits when it dries.
3. Lens Cleaning Paper - Camera shops sell paper specifically designed to safely clean lenses. Toilet paper is not recommended, although, in a pinch for field use would certainly be better than the bottom of your dirty t-shirt.
4. Lens Cleaning Cloths - Most optic manufacturers produce a lens cleaning cloth similar to what comes with sunglasses. The cloth is a great option for field use, providing it is stored properly to prevent it from picking up sand and dirt.
1. Brush any loose debris off with the brush.
2. Hold the scope in a horizontal position so the lenses are vertical and liberally spray lens cleaner on them. Gravity should cause the solution to run off the lens and carry any debris with it.
3. Dry the lens with lens tissue and gently wipe off any smudges.
4. Store them covered to minimize the frequency of cleaning.
Brian Poor,
Training Director
Cleaning Your Rifle